Looking at our current’s structure over depth

For our scientific analyses, we look at the flow field at several discrete levels throughout the water depth. But we can — just for fun! — look at them almost continuously while the scanner is moving up and down, and that’s what I want to show you today. Isn’t it cool how the flow is so barotropic even though there are so many eddies and other things going on?

What happens when you accidentally change the rotation rate of the tank just a liiiittle bit? Inertial oscillations!

At some point the angular velocity of our tank was accidentally changed a tiny little bit. That was almost instantly corrected, however we could see the effect for quite some time later: inertial oscillations! All the water in the tank moved in circular motions at half the period of rotation.

You read about inertial oscillations in oceanography all the time, but it was really cool to actually observe them!

Fluorescent dye and baroclinic experiments

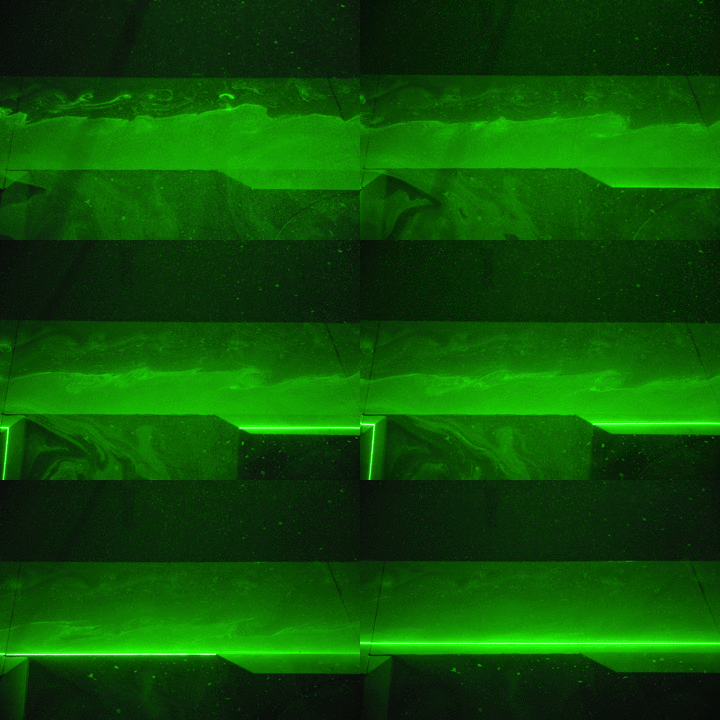
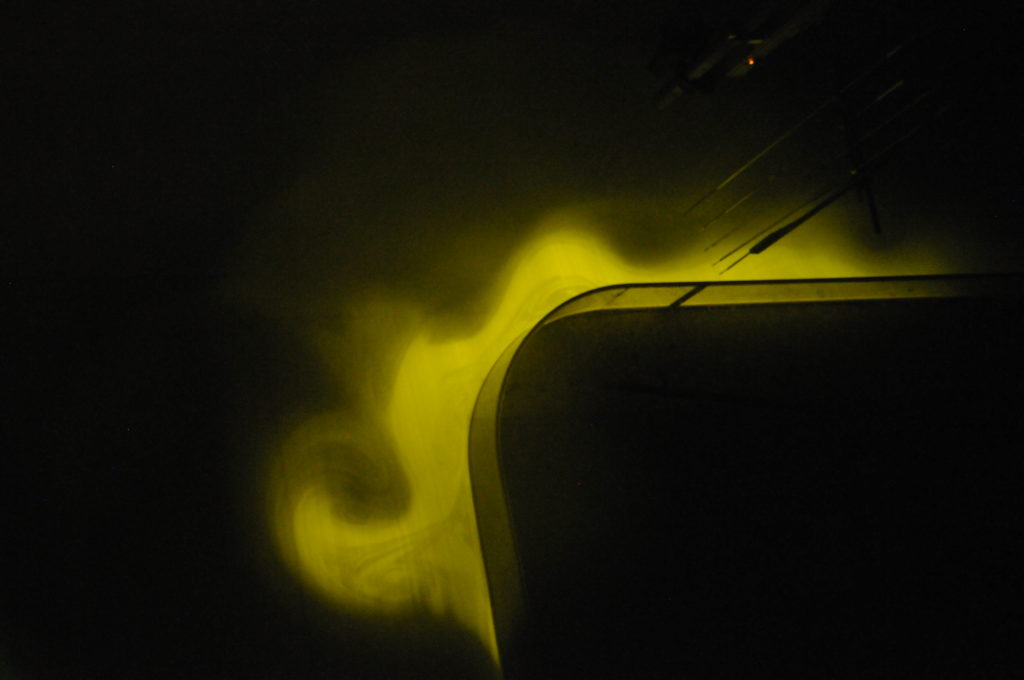
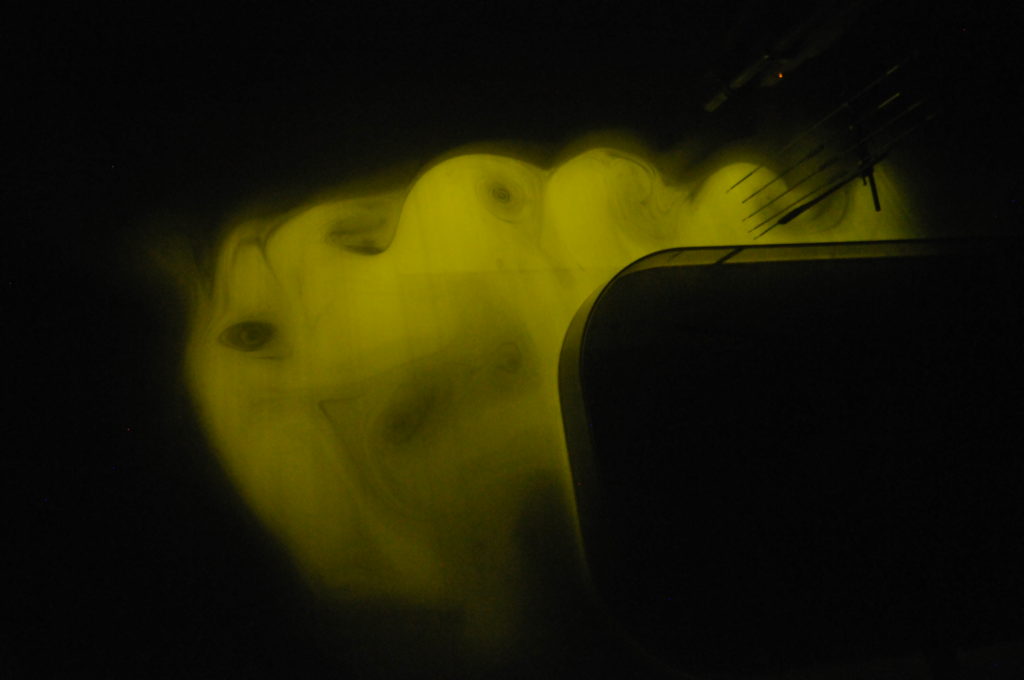
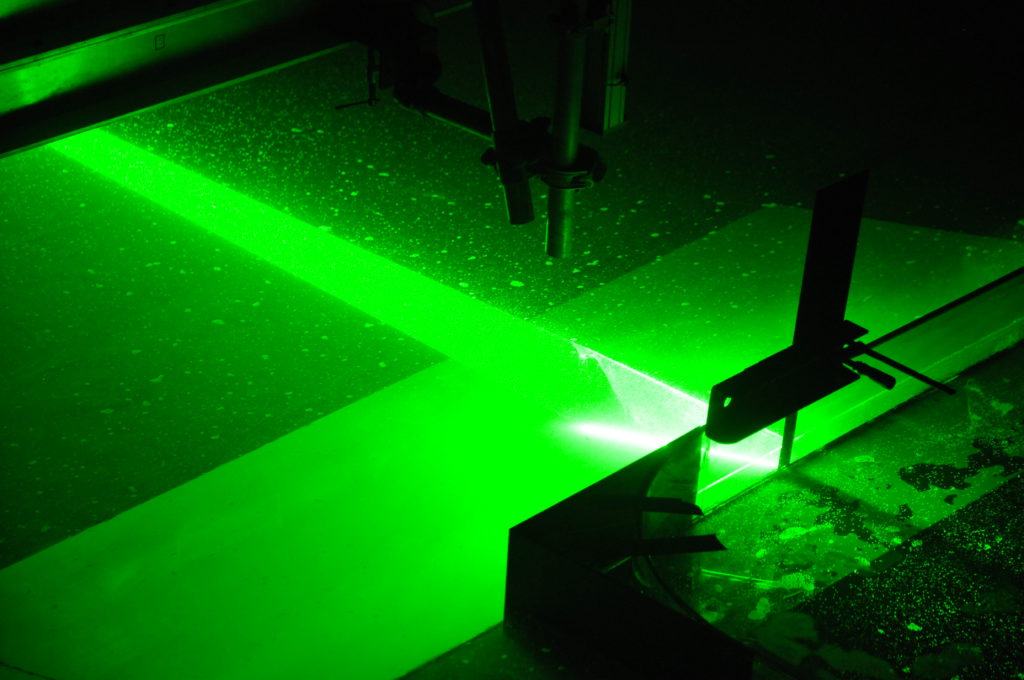
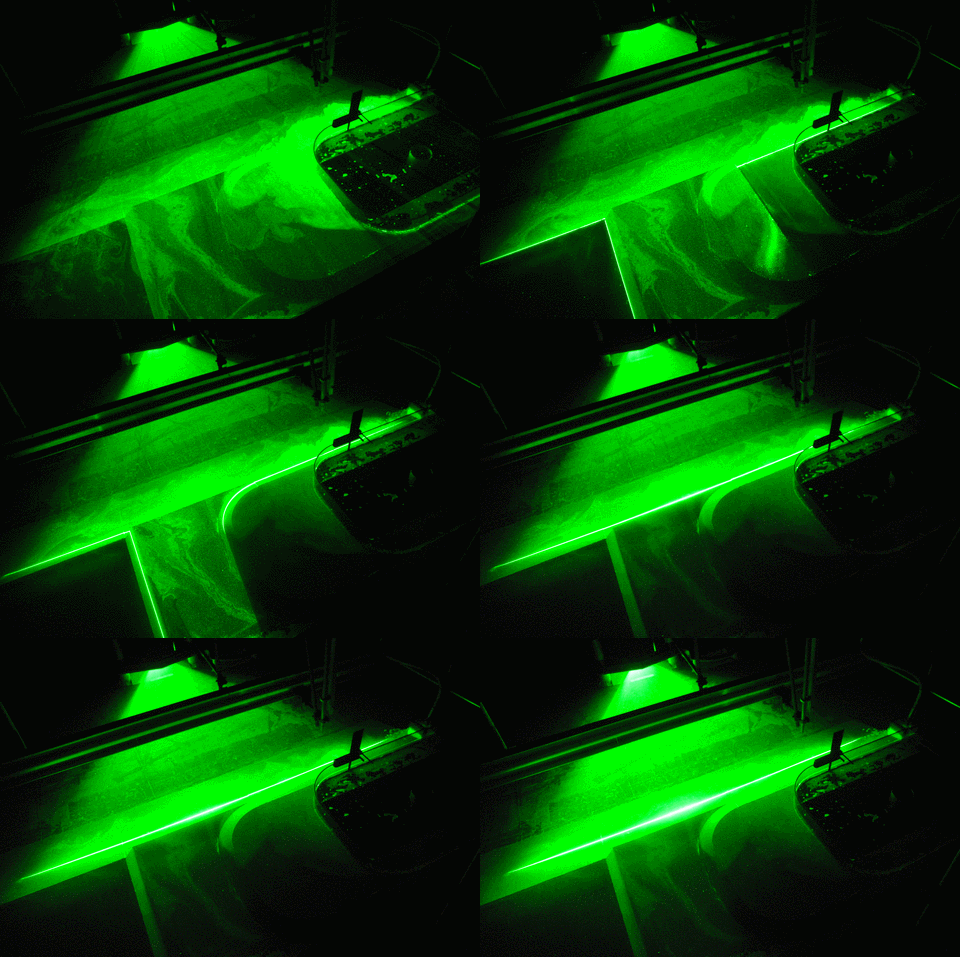
As promised last week, here are some photos of the shining flow that contains fluorescent dye. To remove the green light from the laser, we used the polarized safety glasses that only left the illuminated current. Isn’t it pretty?

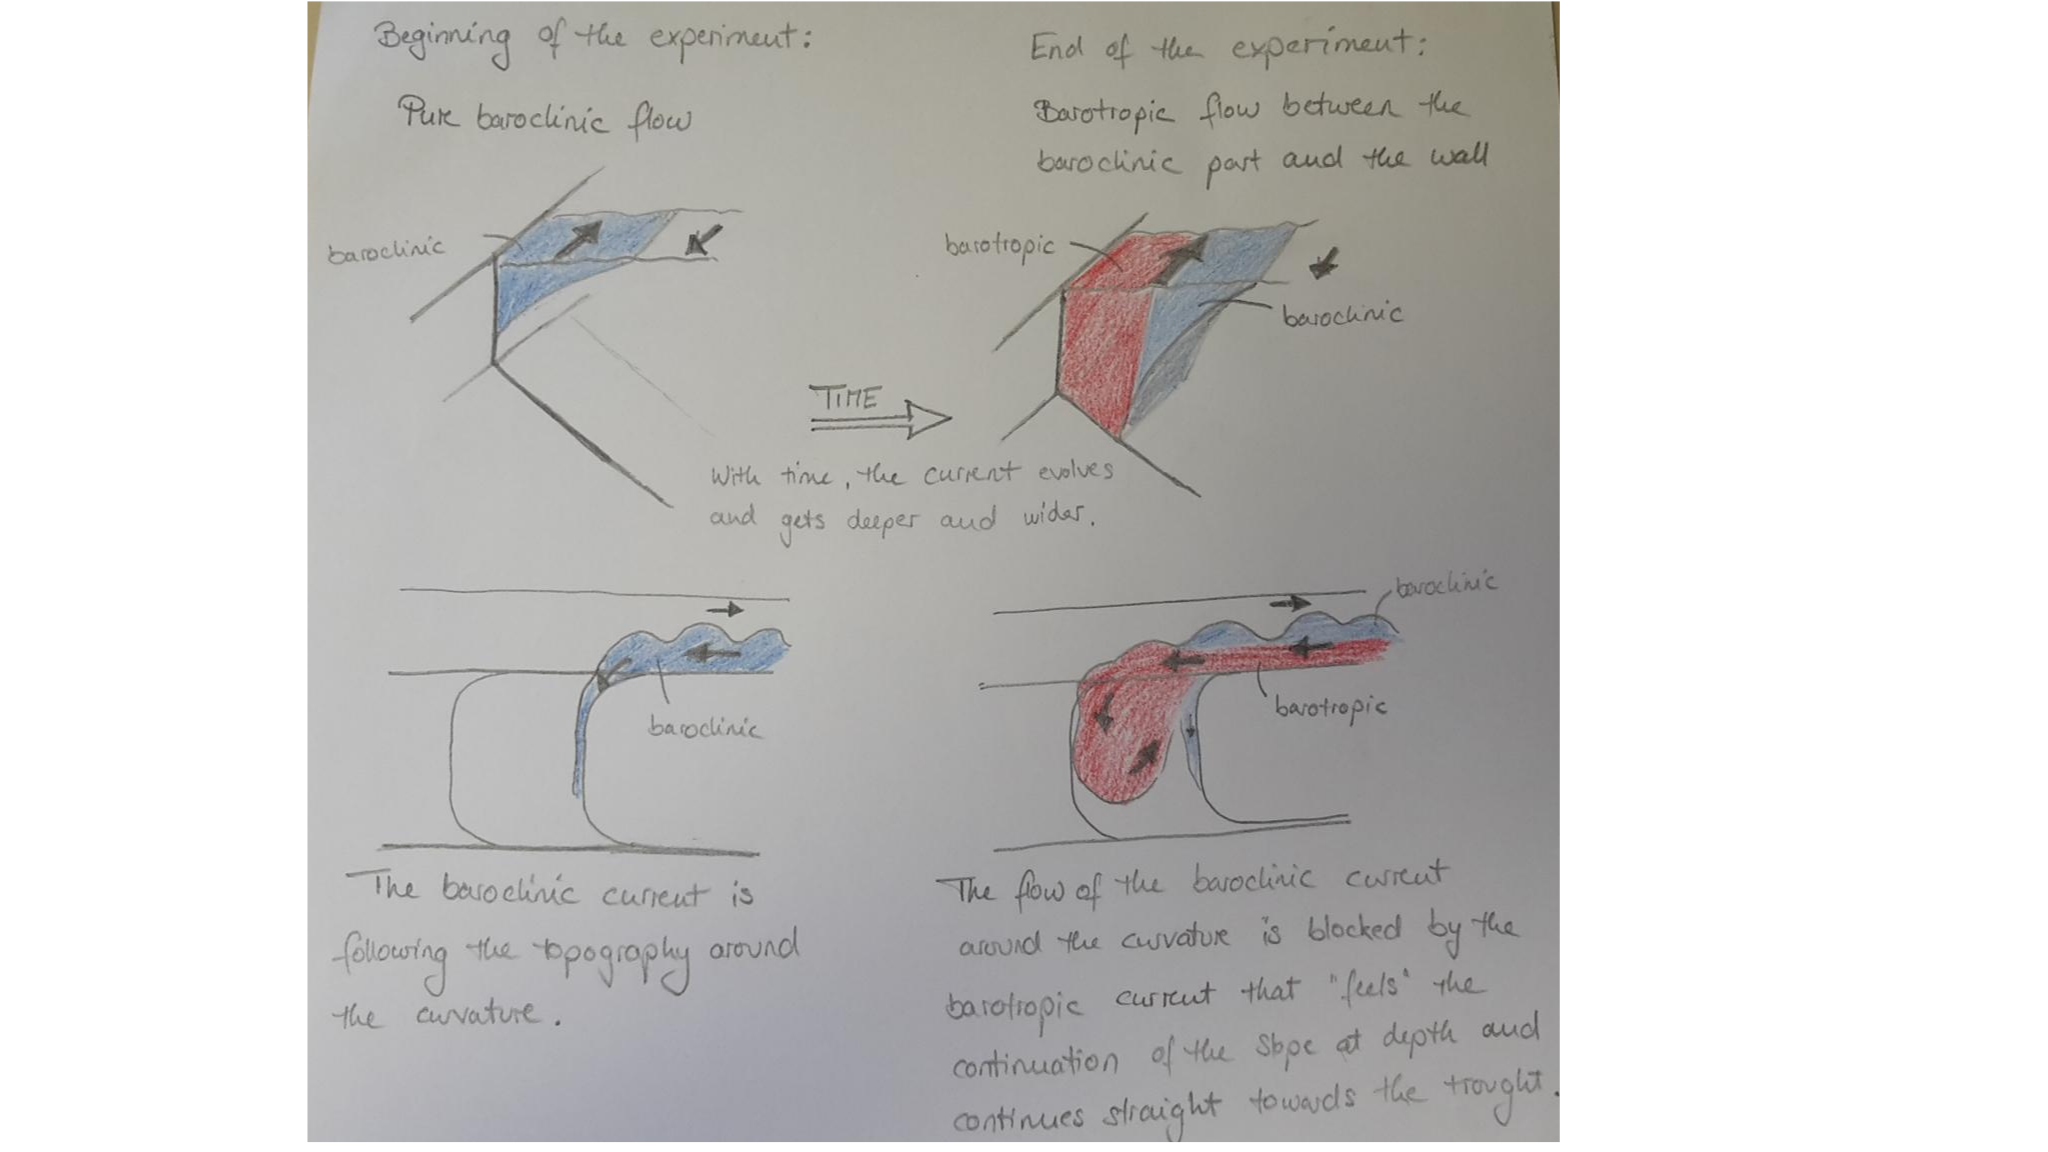
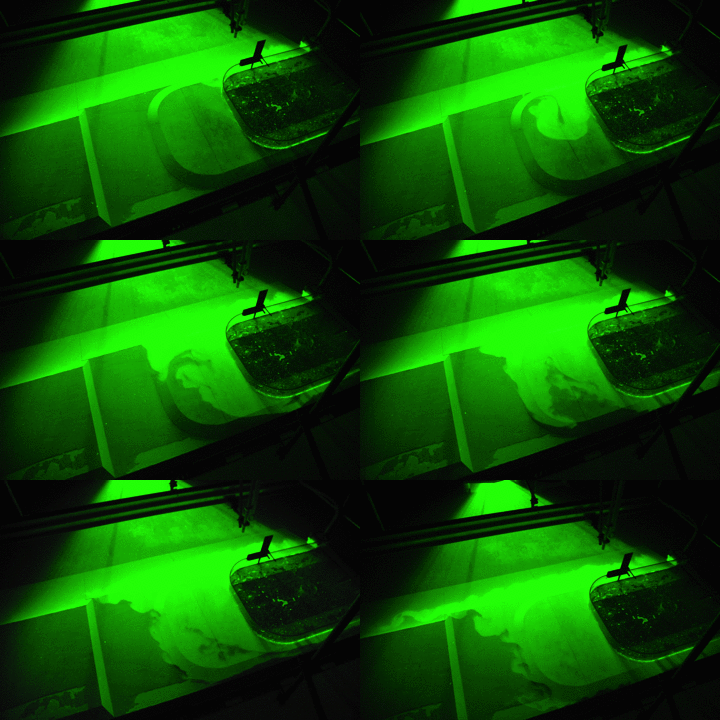
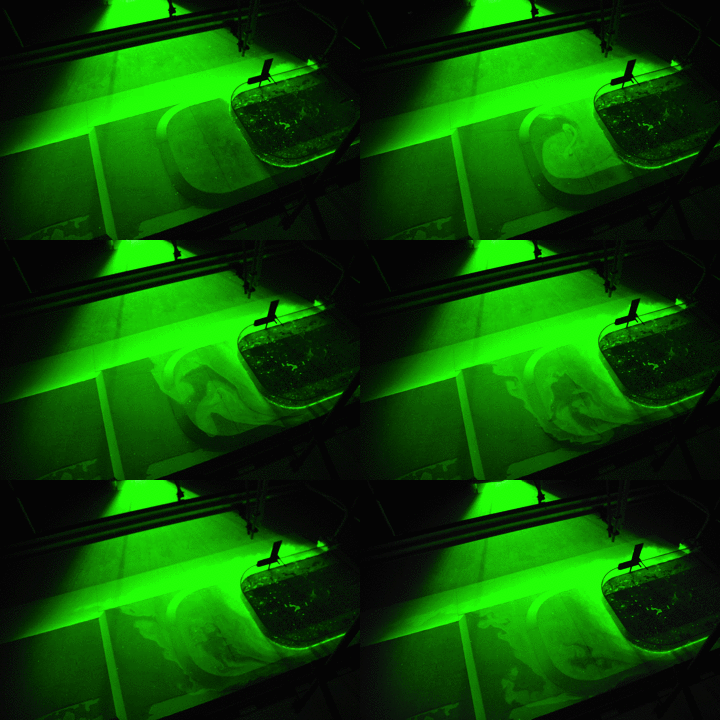
Adding fluorescent dye to the inflow water makes the current nicely visible. In the beginning of the experiment, the baroclinic flow turns around the first corner. The waves evolve due to the shear between the moving current and the still-standing ambient water.


Once the current has evolved and deepened, the part closest to the wall is barotropic and passes the first curvature without turning.

Whether the flow resembles the first photo or the second photo mainly depends on the strength of the inflow and the density difference between the inflowing and the ambient water. But the flow also evolves with time! That means, in the beginning the freshwater flow turns directly around the first corner, whereas it rather continues straight along the slope after a certain time. Let’s explain that in more details on some sketches:

Does this make sense to you?

How we can see vertical slices of the flow field in our tank

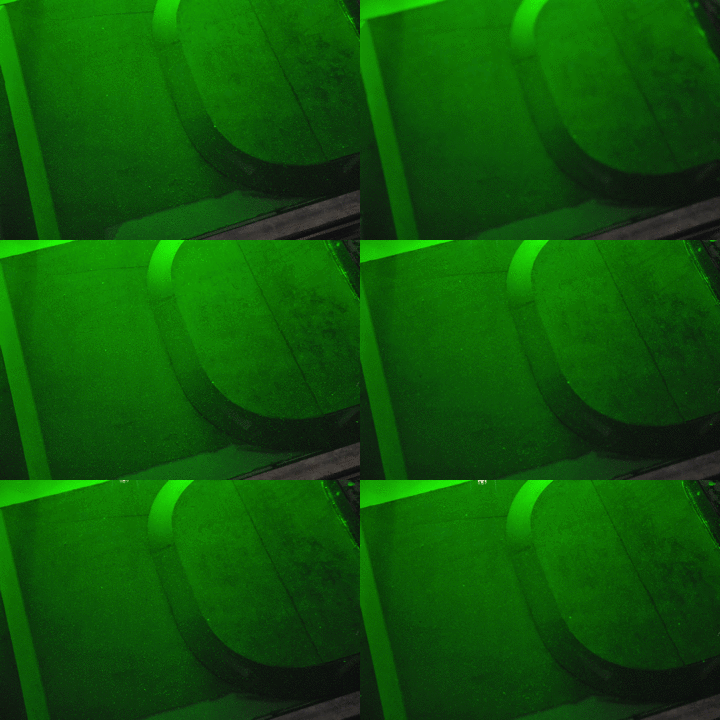
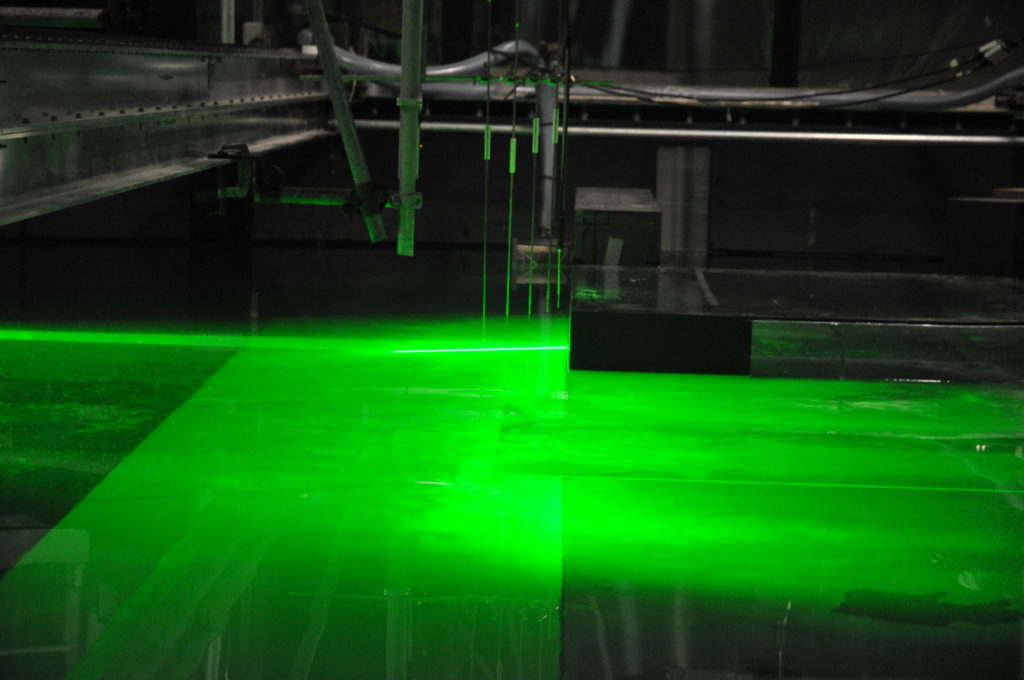
We’ve talked before how we use the laser to light up neutrally-buoyant particles on horizontal slices of our tank, but we can actually also do this in the vertical.

This is sometimes very helpful to check whether the particle distribution is still good enough or whether someone needs to go in and stir up some particles before the next experiment.

We are constantly adding water to the tank — how is the water level kept stable?

You’ve probably been wondering about this, too: We have a constant inflow from our “source” into the tank. How do we keep the water level stable?

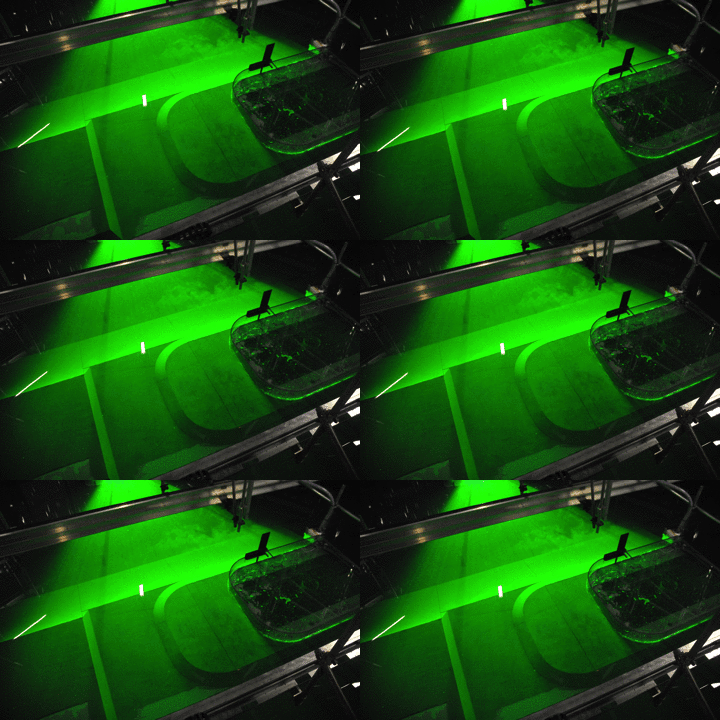
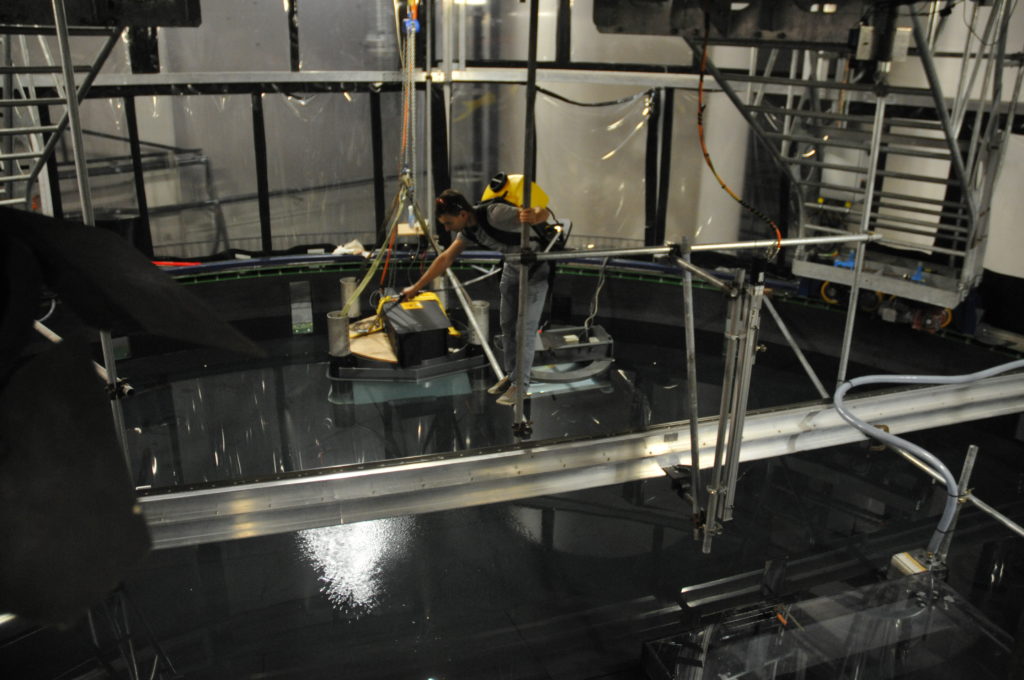
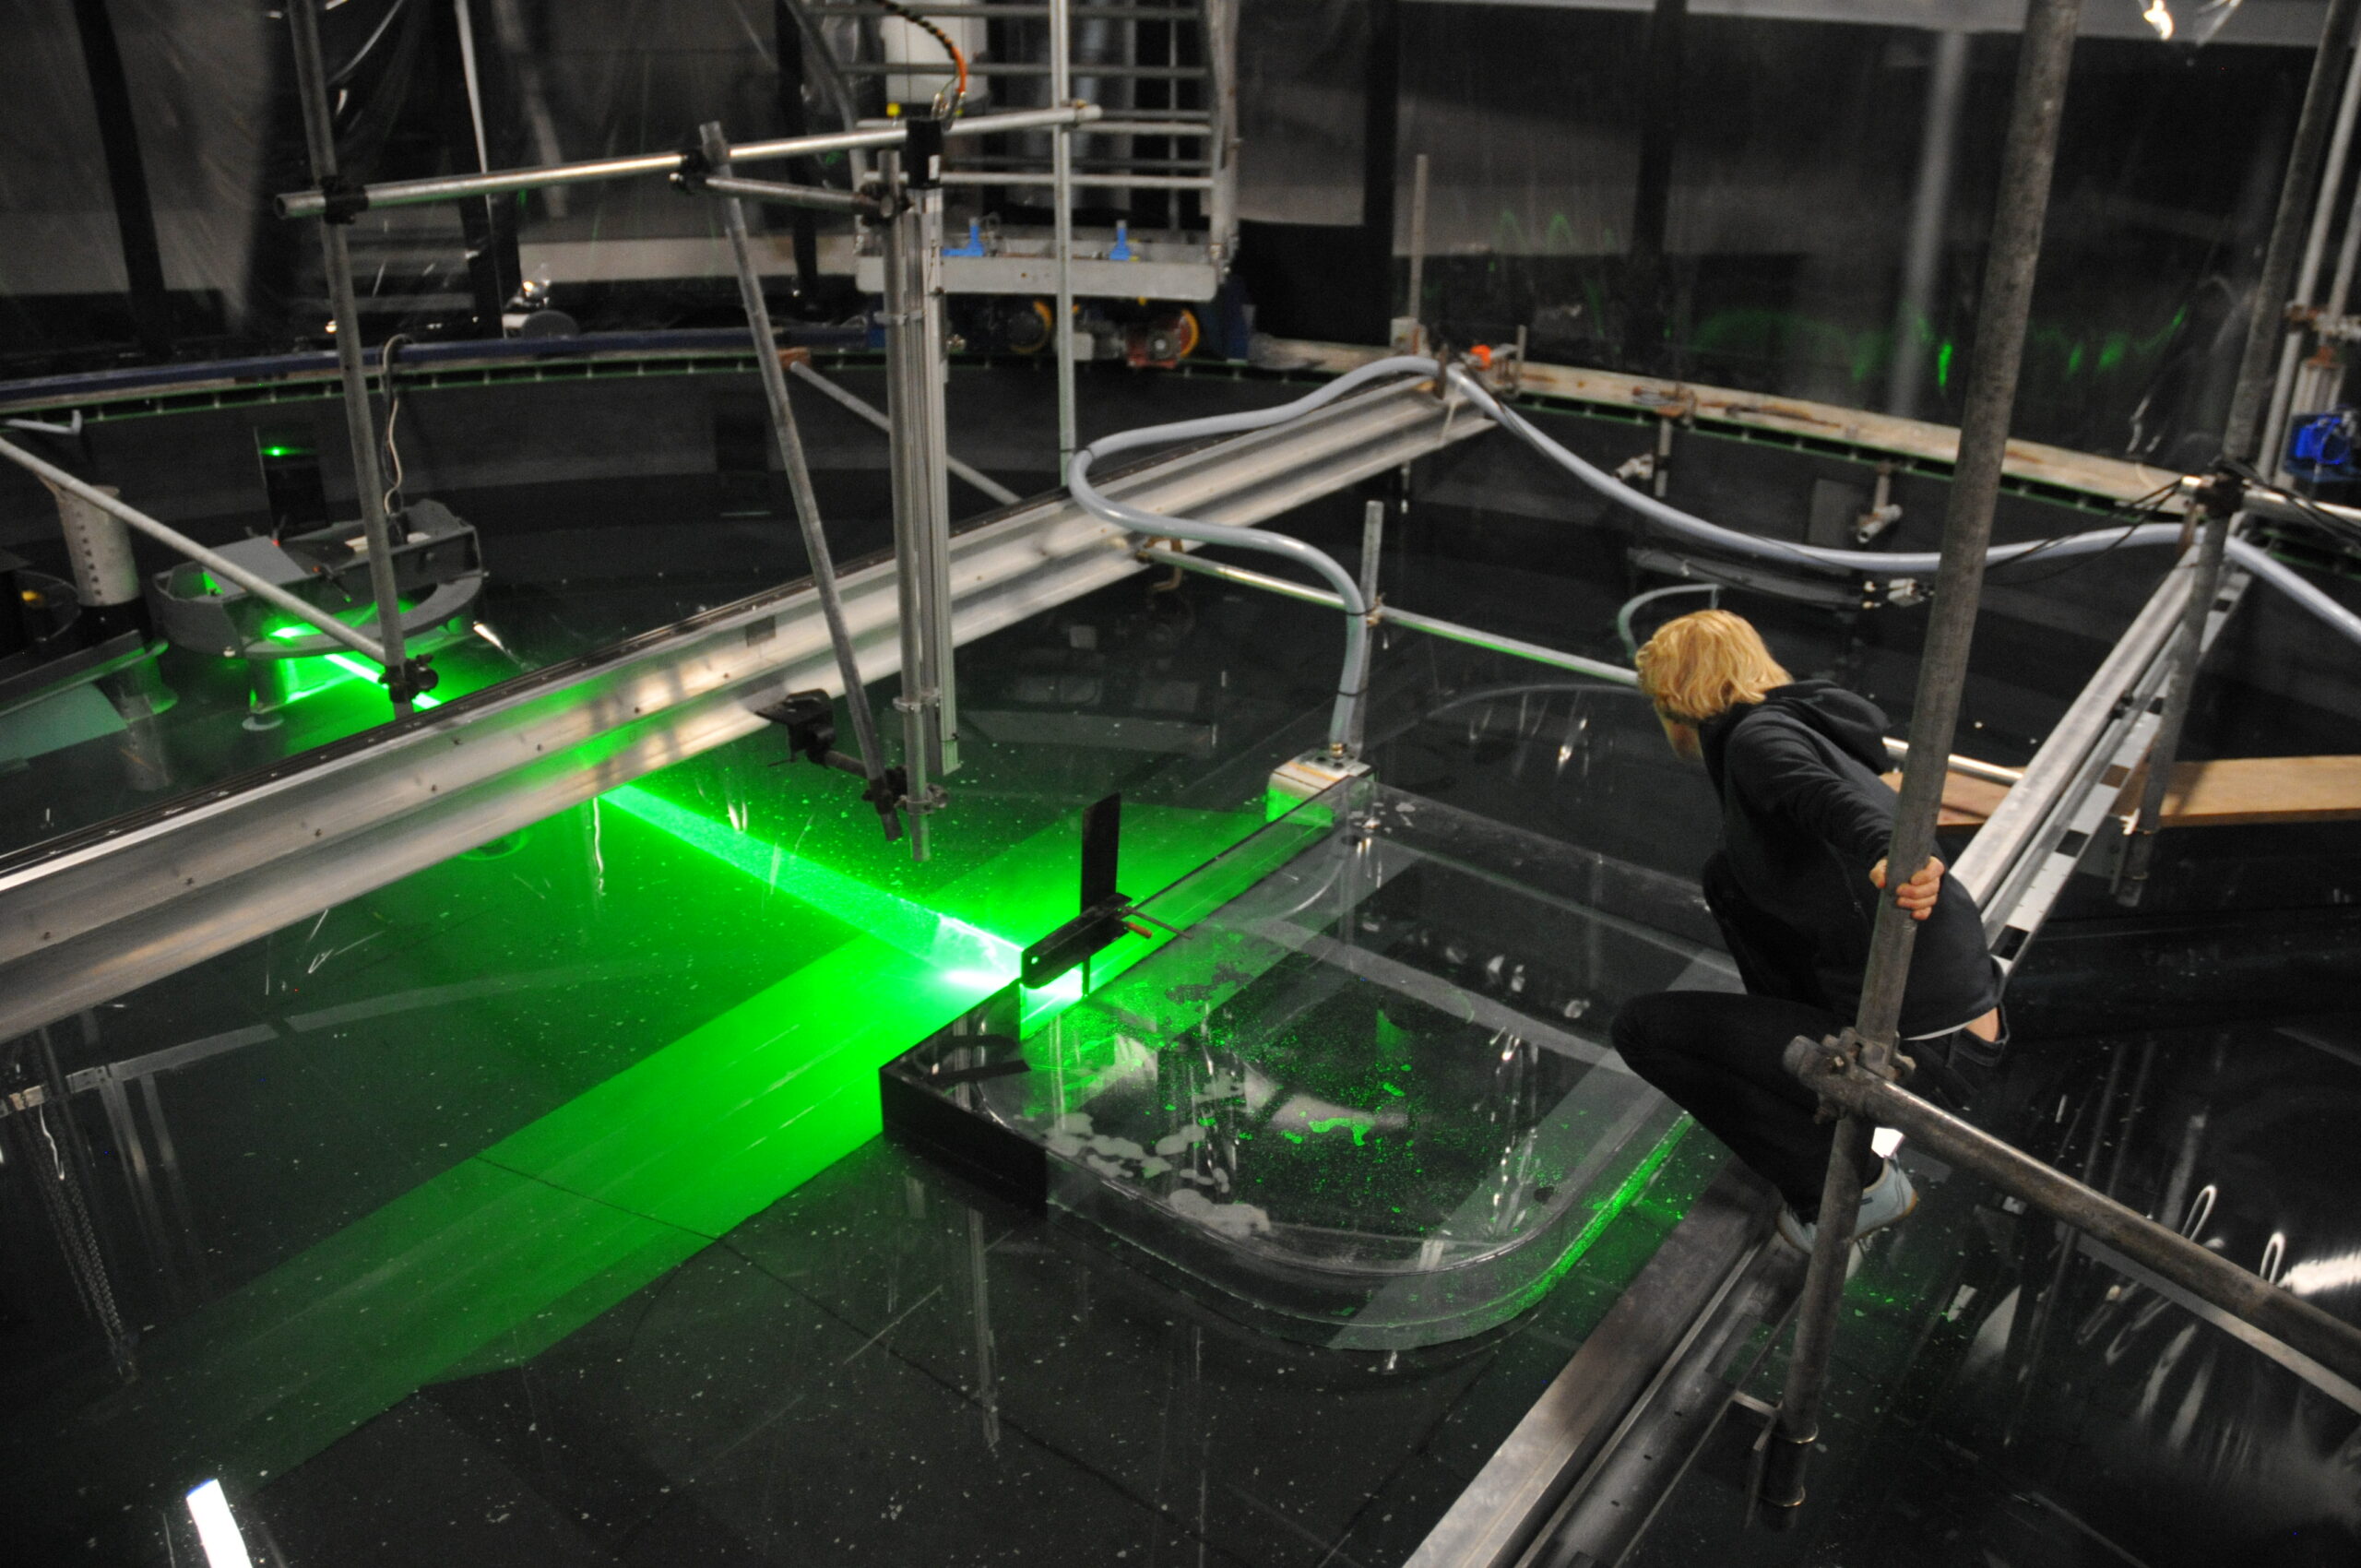
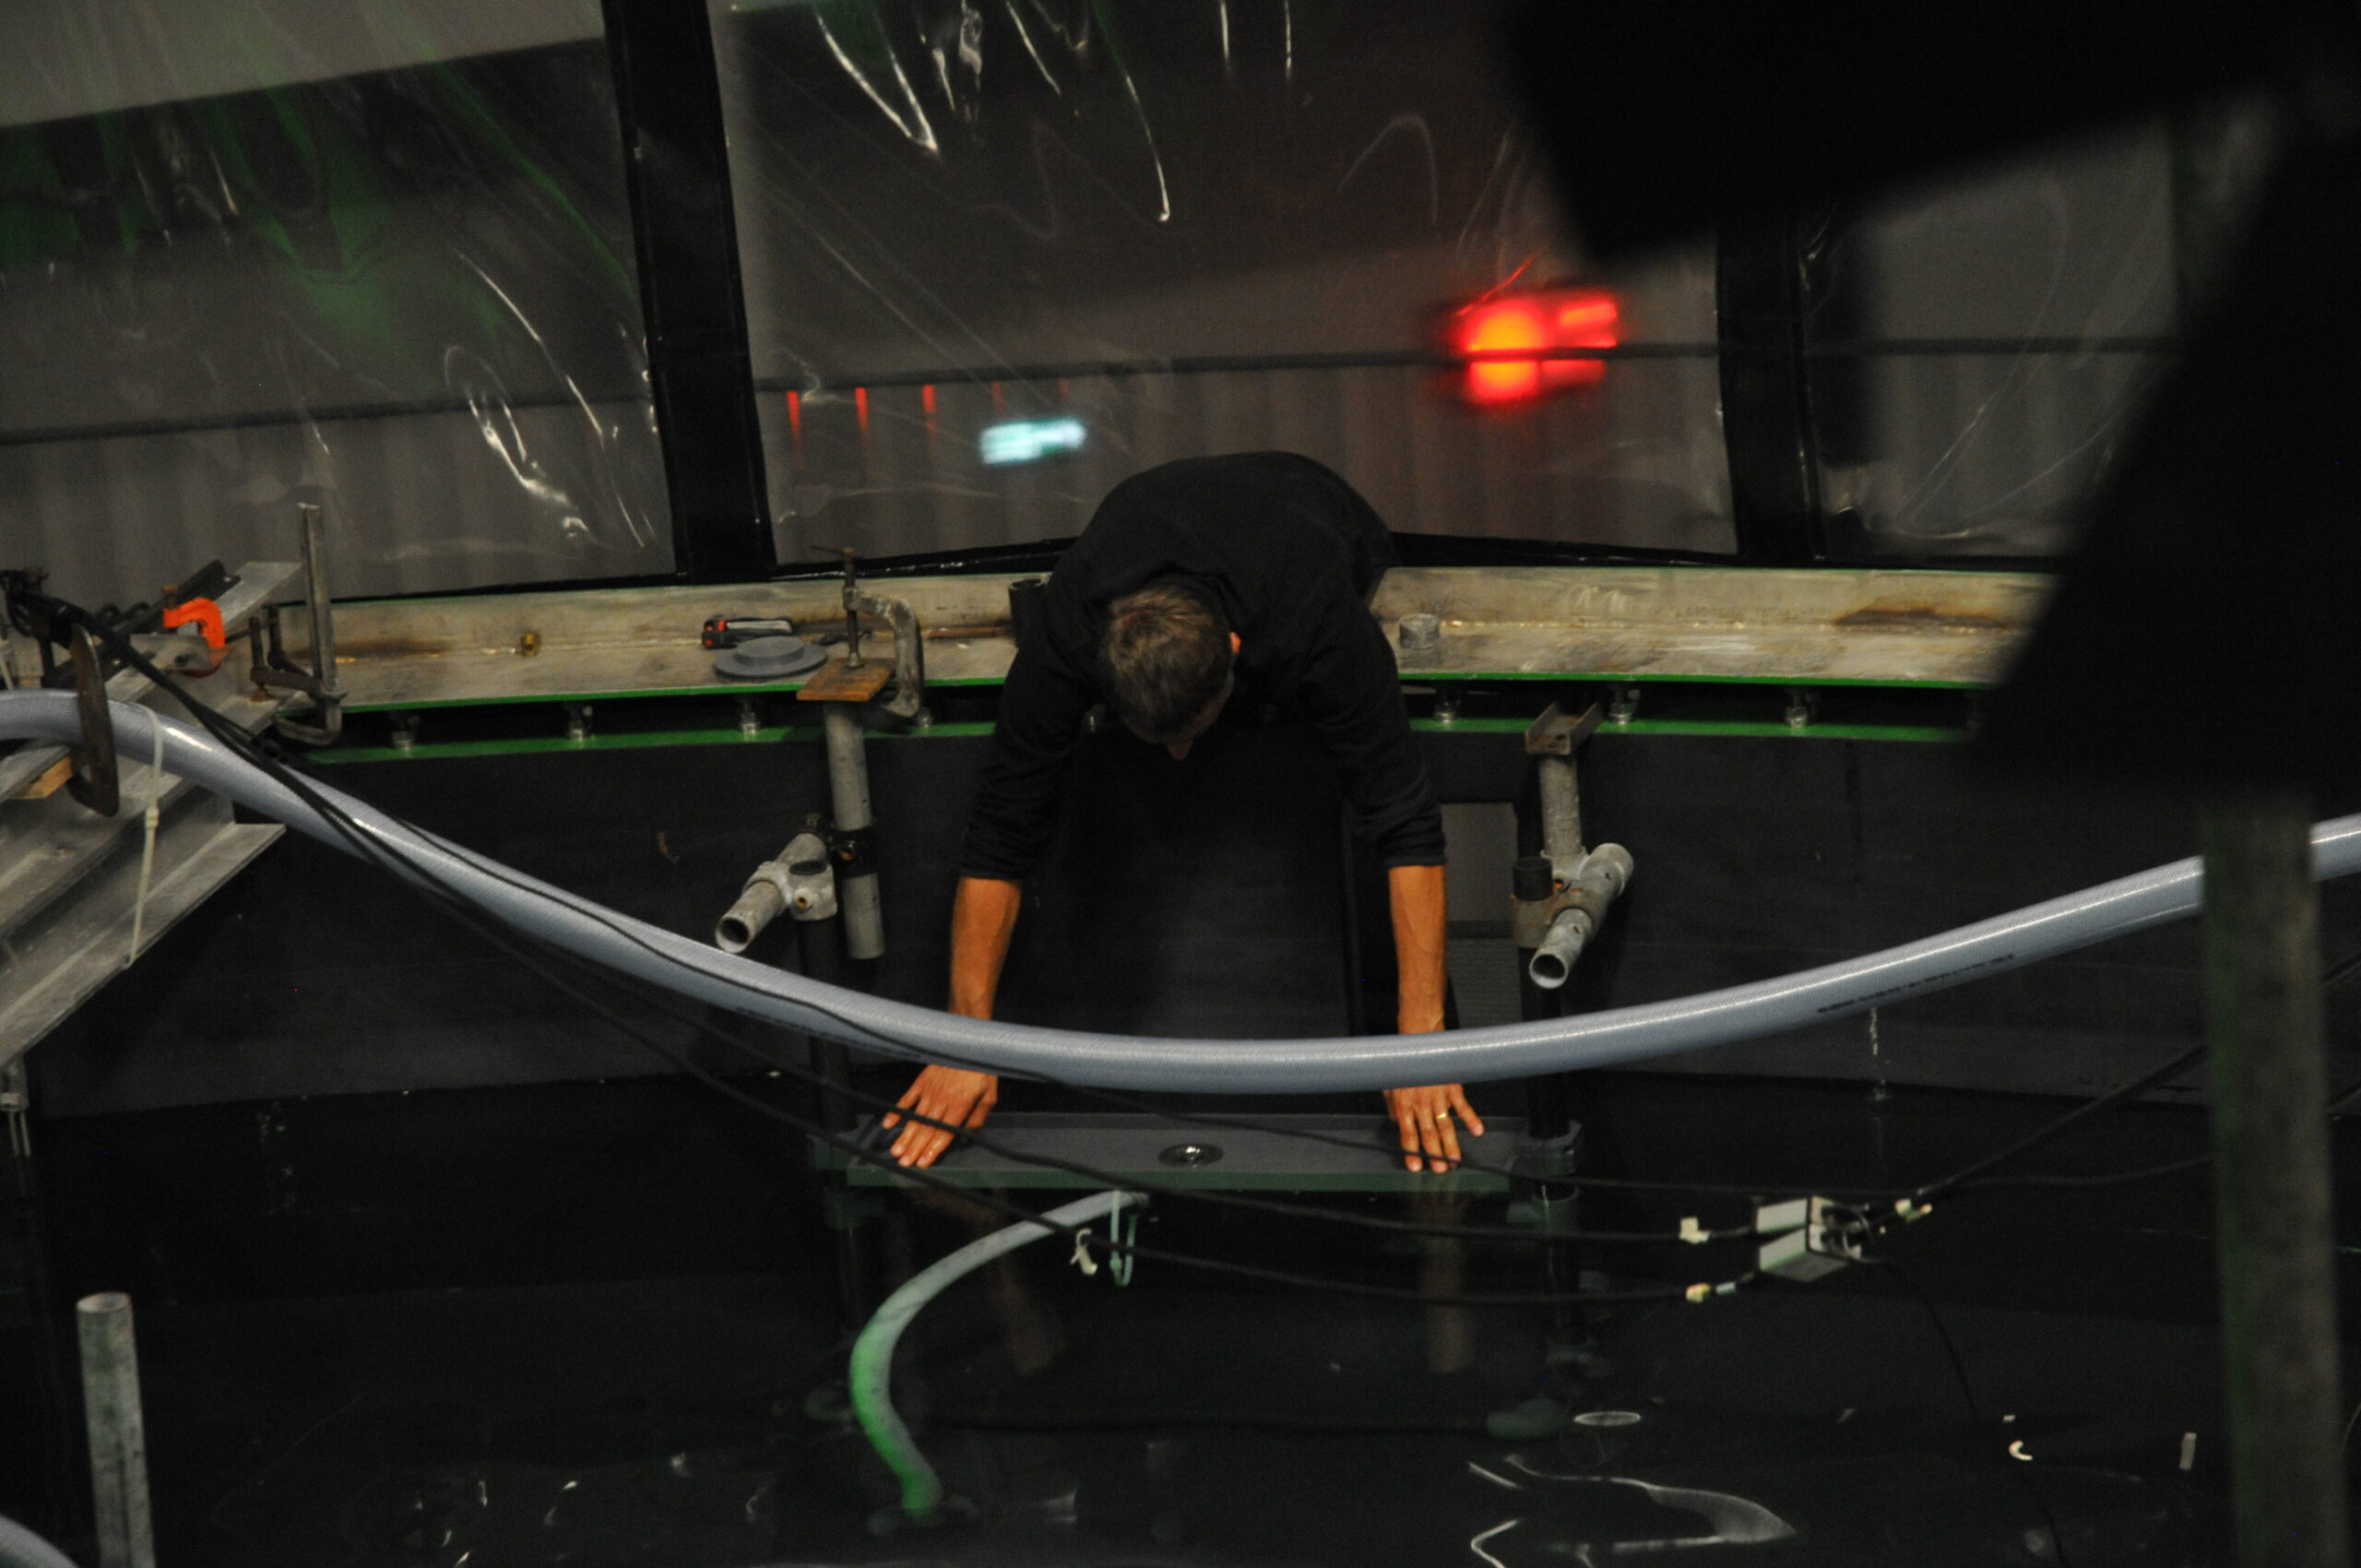
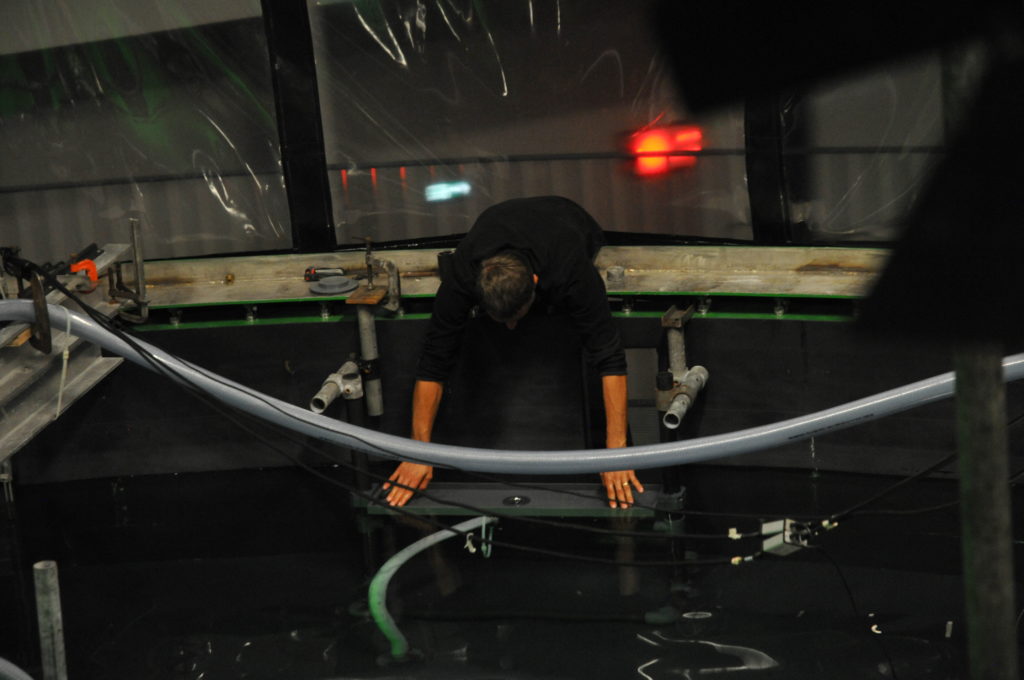
Worry no more — here is the answer. In the picture above you see Samuel adjusting the skimmer — a sink inside the tank that height is adjusted such that its upper edge is exactly at where the water level should be. So any excess water is skimmed off and drained.

Sounds easy, but it’s actually not — we have a free surface in the tank and we are rotating quite fast, so there is a height difference of almost 10 cm between the center and the outer edge. So a little bit of fiddling around involved…

This is what experiments look like at our rotating tank

Just so you don’t get bored over the weekend (and because they are so so beautiful to look at!) here are a couple more sneak peek gifs of our experiments. (For some reason I don’t understand, they take a little while before they start moving. Don’t give up, it’ll happen!)

Remember, though, that what we see are only particle distributions in one layer close to the surface, and also the very beginning of the experiments before the flow has reached a balance. So please don’t over-interpret 🙂

Adding salt to spice it up

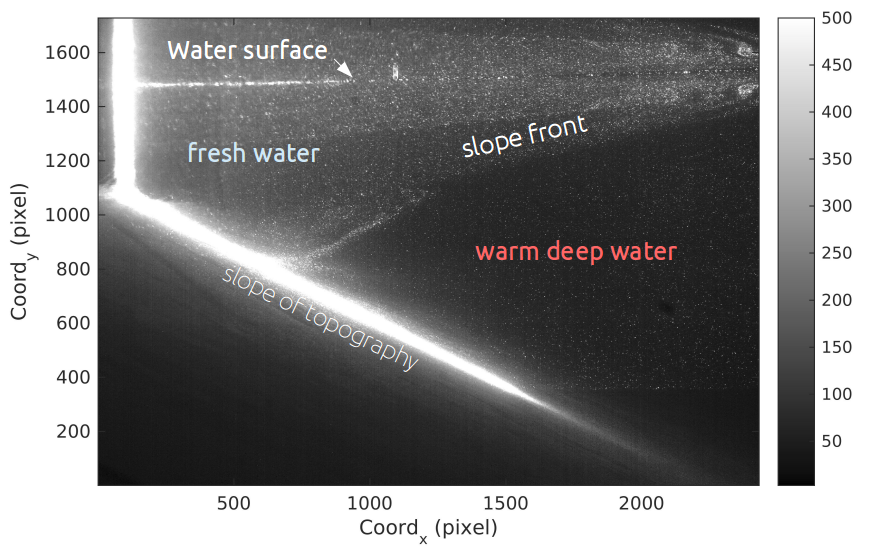
Today, we finally started some experiments that got us a bit closer to reality. The water in the tank is now salty, just like the Southern Ocean and the inflow is fresh, which produces a slope front. Remember, the slope front separates the warm deep water from the fresh shelf water influenced by the ice shelfs. The slope front makes it difficult for the warm deep water to get onto the continental shelf. We already wrote more about the ‘Antarctic Slope Front’ in a previous post (https://elindarelius.no/2017/09/19/a-bit-more-about-real-antarctica/).

On a photo of the camera of a cross section through the current you can actually nicely see this slope front!

Photos of the cross section of the inflow show the slope front that separates the fresh water from the salt water


To actually measure the change in density with depth, we attached 5 probes just above the current that do profiles of the water column. They measure the conductivity and temperature, from which we calculate the density. So, it is exactly the same as CTDs (conductivity – temperature – depth) that we use on the ship in Antarctica—just in miniature.

The 5 conductivity-temperature sensors that measure profiles of the water column to give us density profiles with depth.


After a while, the fresh water spreads out at the surface and forms a surface layer. When the laser crosses the interface between this surface layer and the salty subsurface layer it gets deflected, which we want to avoid. Therefor we were allowed to go into the tank and mix the water 🙂

To mix the fresh and the dense water, we were finally allowed to enter the pool while filled with water!


About neutrally buoyant particles, popcorn, and more bubbles

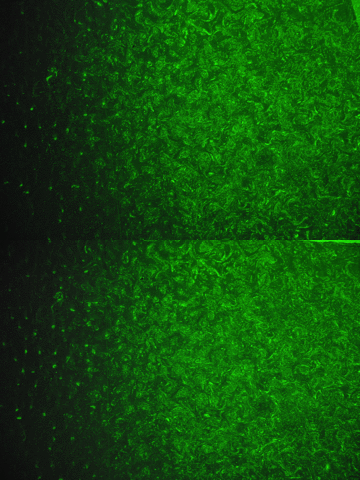
When you see all our pretty images of currents and swirling eddies and everything, what you actually see are the neutrally buoyant particles, specifically added for this purpose, that get lit by the laser in a thin sheet of light. And those particles move around with the water, but in order to show the exact movement of the water and not something they are doing themselves, they need to be of the exact same density as the water, or neutrally buoyant.

But have you ever tried creating something that just stays at the same depth in water and does neither sink to the bottom or float up to the surface? I have, and I can tell you: It is not easy! In fact, I have never managed to do something like that, unless there was a very strong stratification, a very dense lower layer in which stuff would float that fell through a less dense upper layer. And in a non-stratified fluid even the smallest density differences will make particles sink or float up, since they are almost neutral everywhere… One really needs stratification to have them float nicely at the same depth for extended periods of time.

But luckily, here in Grenoble, they know how to do this right! And it’s apparently almost like making popcorn.

You take tiny beads and heat them up so they expand. The beads are made from some plastic like styrofoam or similar, so there are lots of tiny tiny air bubbles inside. The more you heat them up, the more they expand and the lower the density of the beads gets.

But! That doesn’t mean that they all end up having the same density, so you need to sort them by density! This sounds like a very painful process which we luckily didn’t have to witness, since Samuel and Thomas had lots of particles ready before we arrived.

Once the particles are sorted by density, one “only” needs to pick the correct ones for a specific purpose. Since freshwater and salt water have different densities, they also require different densities in their neutrally buoyant particles, if those are to really be neutrally buoyant…

Below you see Elin mixing some of those particles with water from the tank so we can observe how long they actually stay suspended and when they start to settle to either the top or the bottom…
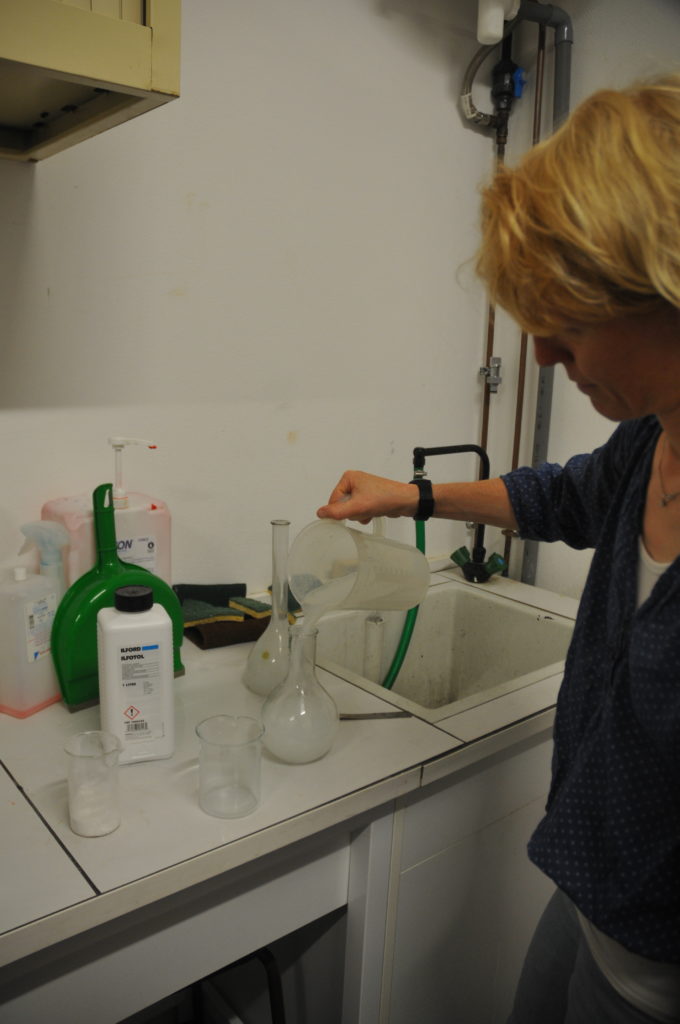
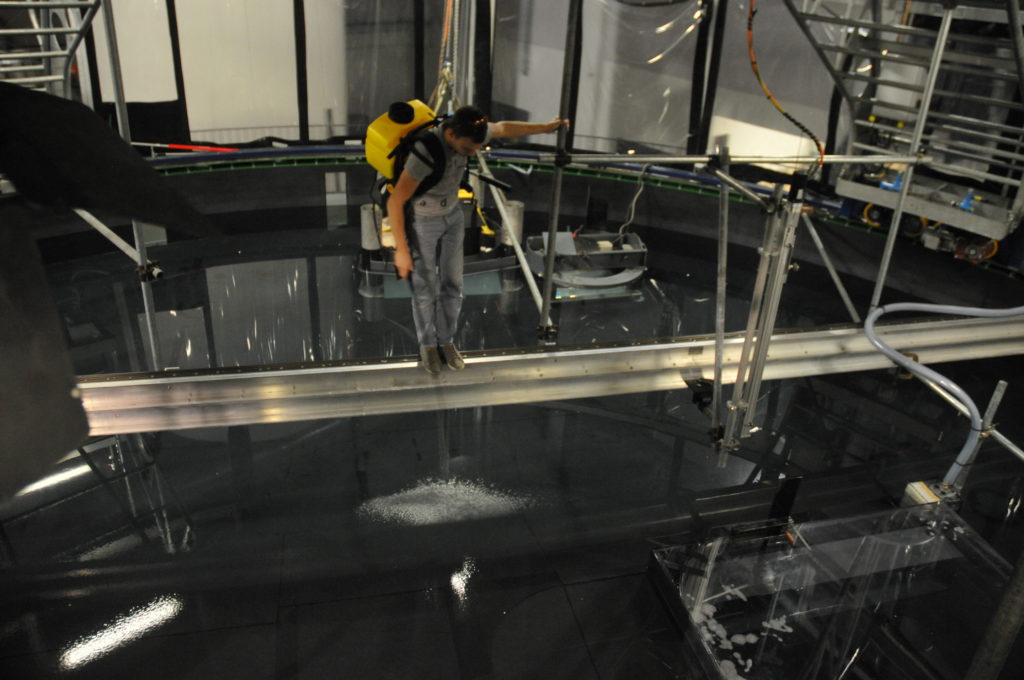
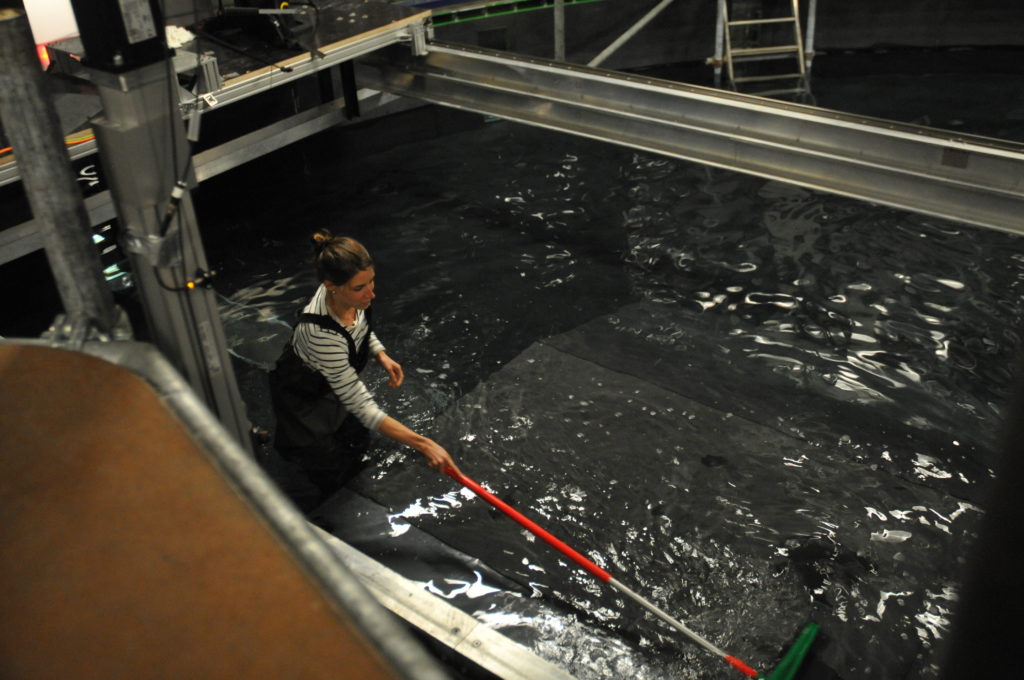
Turns out that they are actually very close to the density of the water in the tank, so we can do the next experiment as soon as the disturbances from a previous one have settled down and don’t have to go into the tank in between experiments to stir up particles and then wait for the tank to reach solid body rotation again. This only needs to be done in the mornings, and below you see Samuel sweeping the tank to stir up particles:
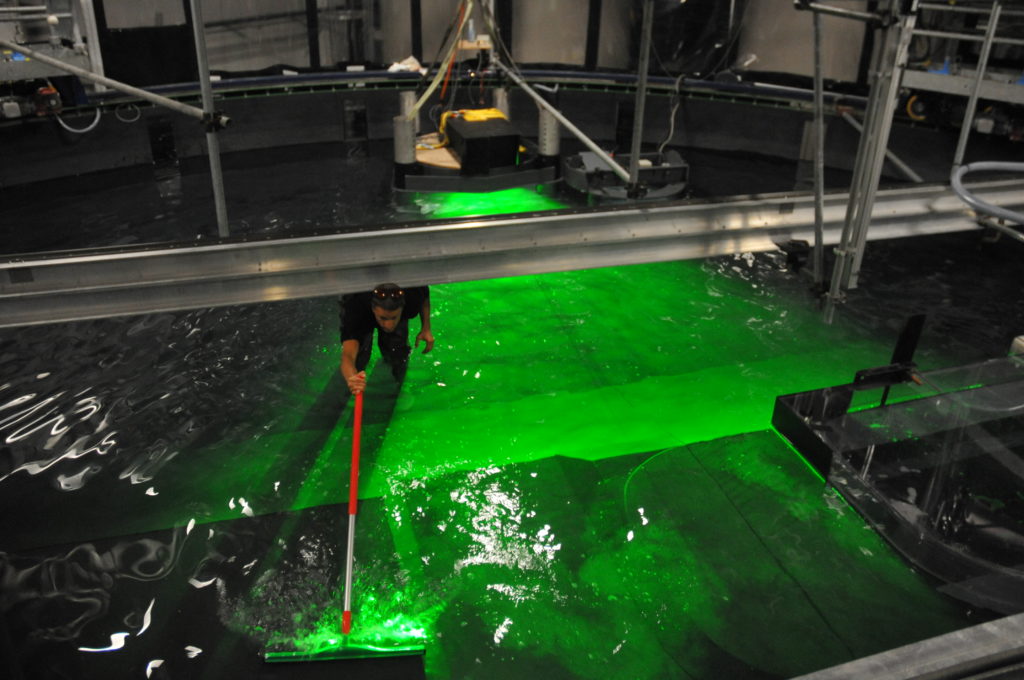
Also note how you now see lots of reflections on the water surface that you didn’t see before? That’s for two reasons: one is because in that picture there are surface waves in the tank due to all the stirring and they reflect light in more interesting pattern than a flat surface does. And the other reason is that now the tank is actually lit — while we run experiments, the whole room is actually dark except for the lasers, some flashing warning signs and emergency exit signs close to the doors and some small lamps in our “office” up above the rotating tank.

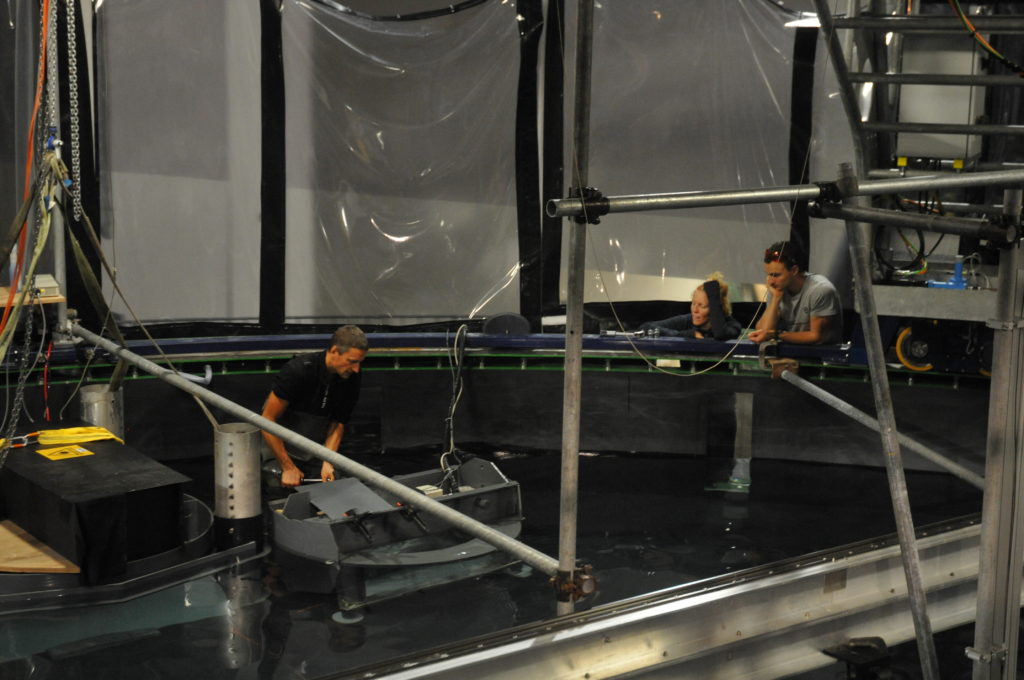
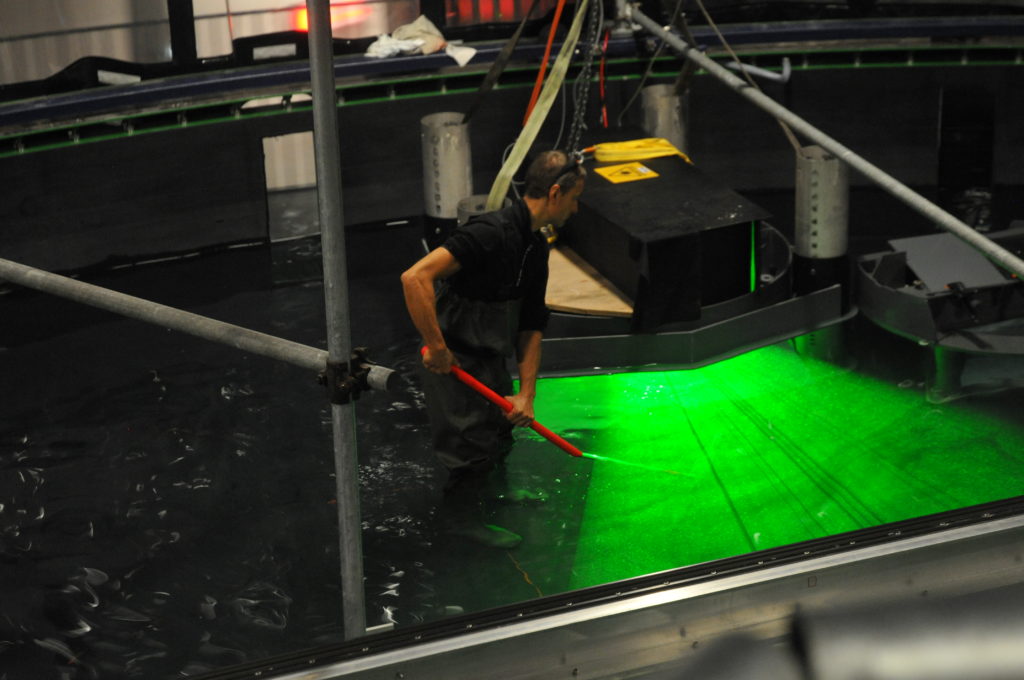
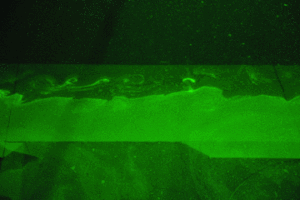
But now to the “more bubbles” part of the title: Do you see the dark stripes in the green laser sheet below? That’s because there are air bubbles on the mirror which is used to reflect the laser into the exact position for the laser sheet. Samuel is sweeping them away, but they keep coming back, nasty little things…
I actually just heard about experiments with a different kind of neutrally buoyant particles the other day, using algae instead of plastic. I find this super intriguing and will keep you posted as I find out more about it!
Turning images into data

Yesterday, the rotating tank was empty again and we used the whole day for an intensive session of data analyzing. Why was the tank empty again? We realized that the source was too close to the first corner when we used high inflow rates, so that the flow was not completely established once we reached the first corner. Therefore, we decided to move the position of the source 2m back to have a more established flow once it reaches the first corner. Samuel and Thomas did a great job with building a new slope and moving the source. However, it took quite some time to dry the glue, so that we had an empty tank yesterday and used this opportunity to process the data.

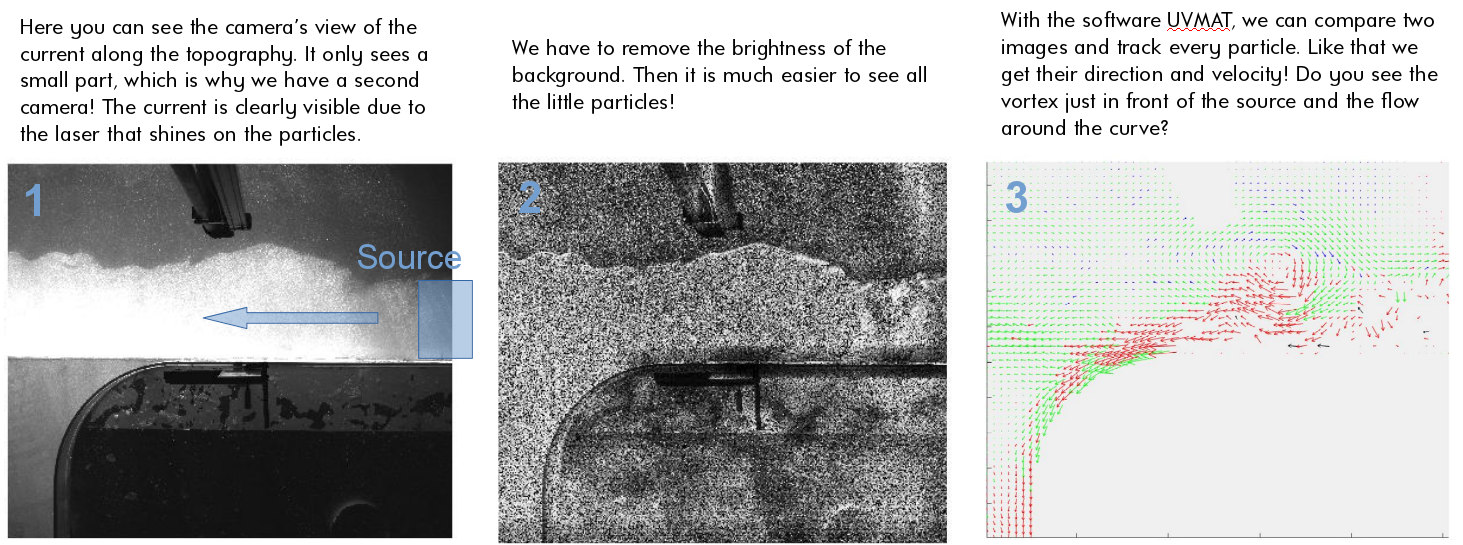
For the data processing, the people from the Coriolis platform provided us with the software UVMAT, which can conduct all the steps from the image to a velocity field. In a simplified way, the three images below show these different steps from one experiment that we did last friday.