
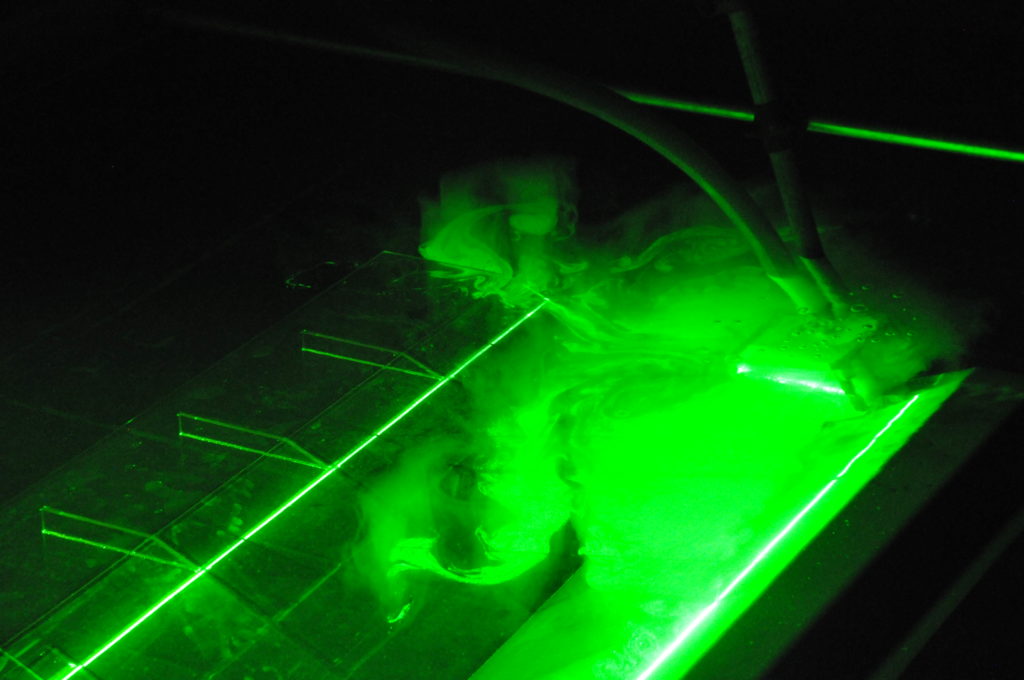
For all our experiments here on the rotating platform in Grenoble, we have had a source, introducing an artificial current into our water-filled tank. With flow rates between 15 l/min and 60 l/min, and experiments running for about half an hour, that is a lot of water that has to come out of the source!
Below, you see a picture of the source during an experiment, and you see there is a pipe going into it, through which water is being supplied.
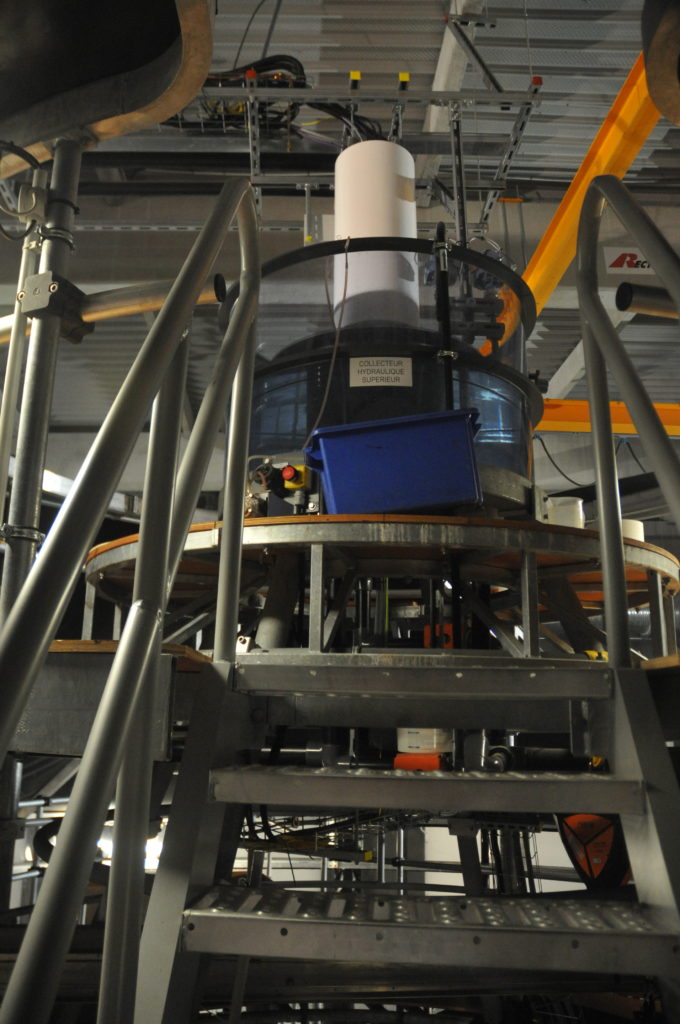
That water is coming from the very top of the rotating platform. There is a smaller tank up there which you see on the picture below. This is the tank where the particles which we use to visualize the flow field get added, and water in this tank needs to have the exact density we want our inflow to have. Not easy since it is sitting some 10 meters above the tank, where the air temperature is higher…
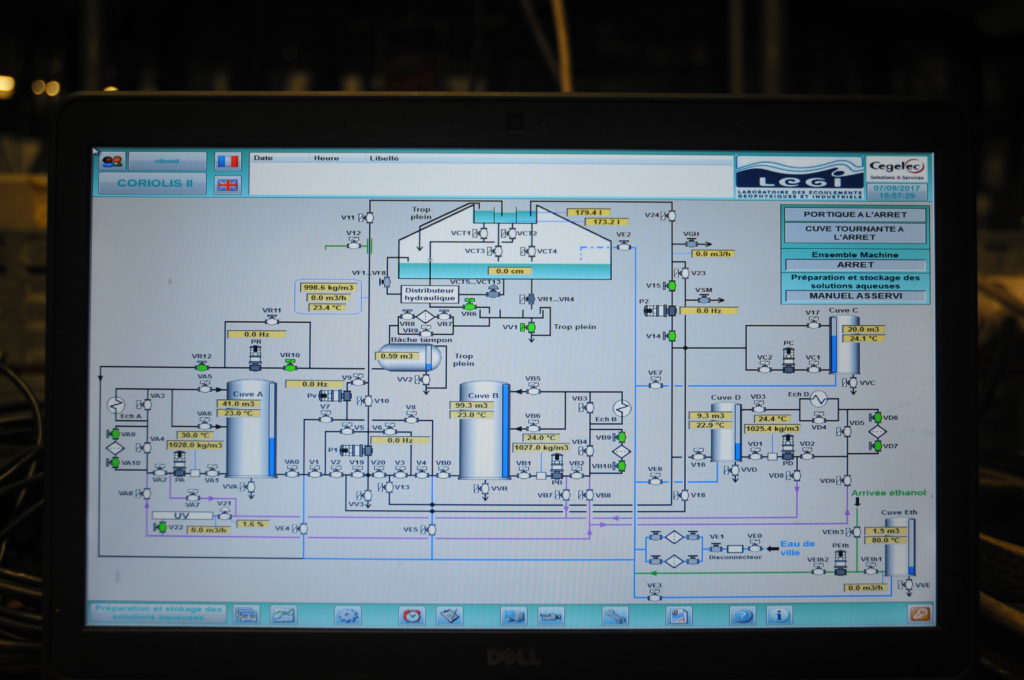
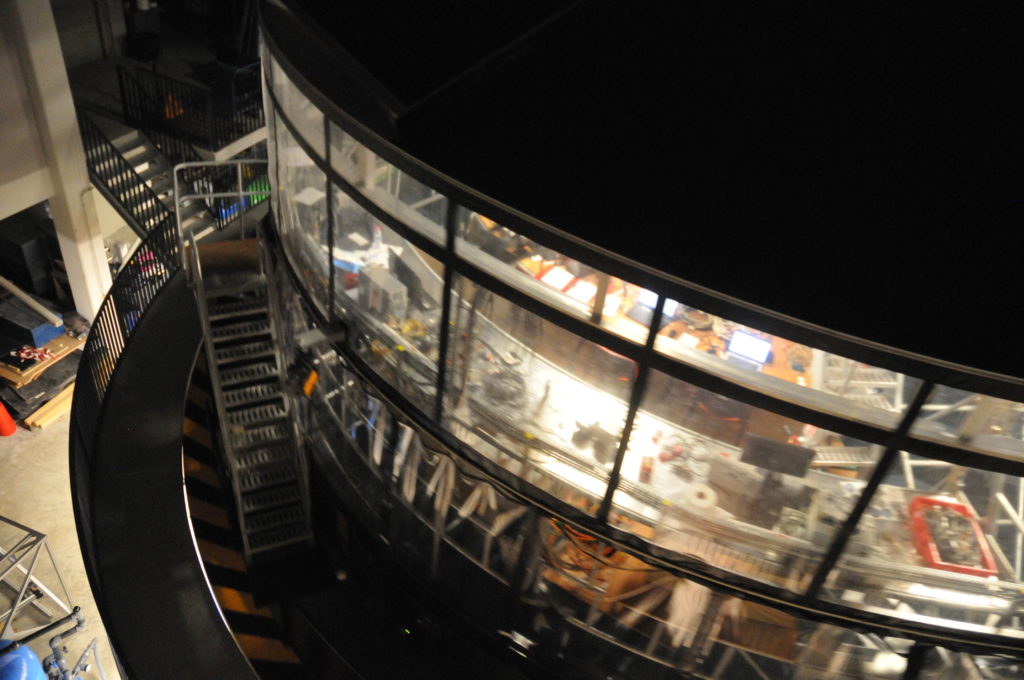
In fact, it’s an extremely complex system of tanks everywhere on and around the rotating platform. Below you see a picture of the screen through which most of them are operated:
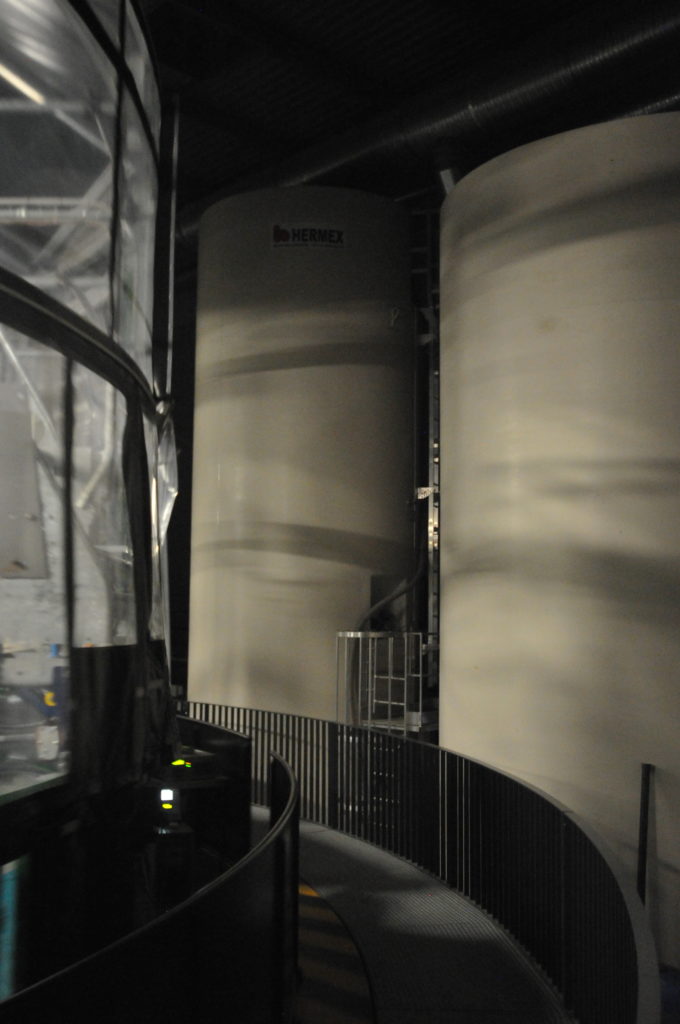
There are three huuuuge water tanks in which water is prepared. You might have seen them rotating past in some of our videos, or you see them below (on the left you see the rotating tank). This picture doesn’t do them any justice: They are enormous. They are higher than the tank, and the mini tank on top of it, and the whole tent around all of it, and they start from the very bottom of the room (so not the level that seems to be the floor in the picture below).
We got to climb on one of them, which gave us a really great view of the tank (or at least that’s what Nadine says, and what the picture looks like — I was too busy getting over my fear of heights combined with the dizziness of a long working day on the rotating platform to enjoy it much ;-)).
Nadine has described earlier about how for some experiments, we add salt to spice things up. In the first set of experiments, for some, the whole tank was filled with salt water. And for this set of experiments, we sometimes added a small amount of salt to adjust the density of the inflow. But this is how producing the salt water actually works: Salt arrives in big bags, stacked on pallets. The salt pellets are put into the bin you see in the picture below, and get hoovered up into one of the huge tanks, where they are dissolved in water to make a saturated salt solution. That solution is then diluted to whatever salt concentration is desired for a certain experiment.
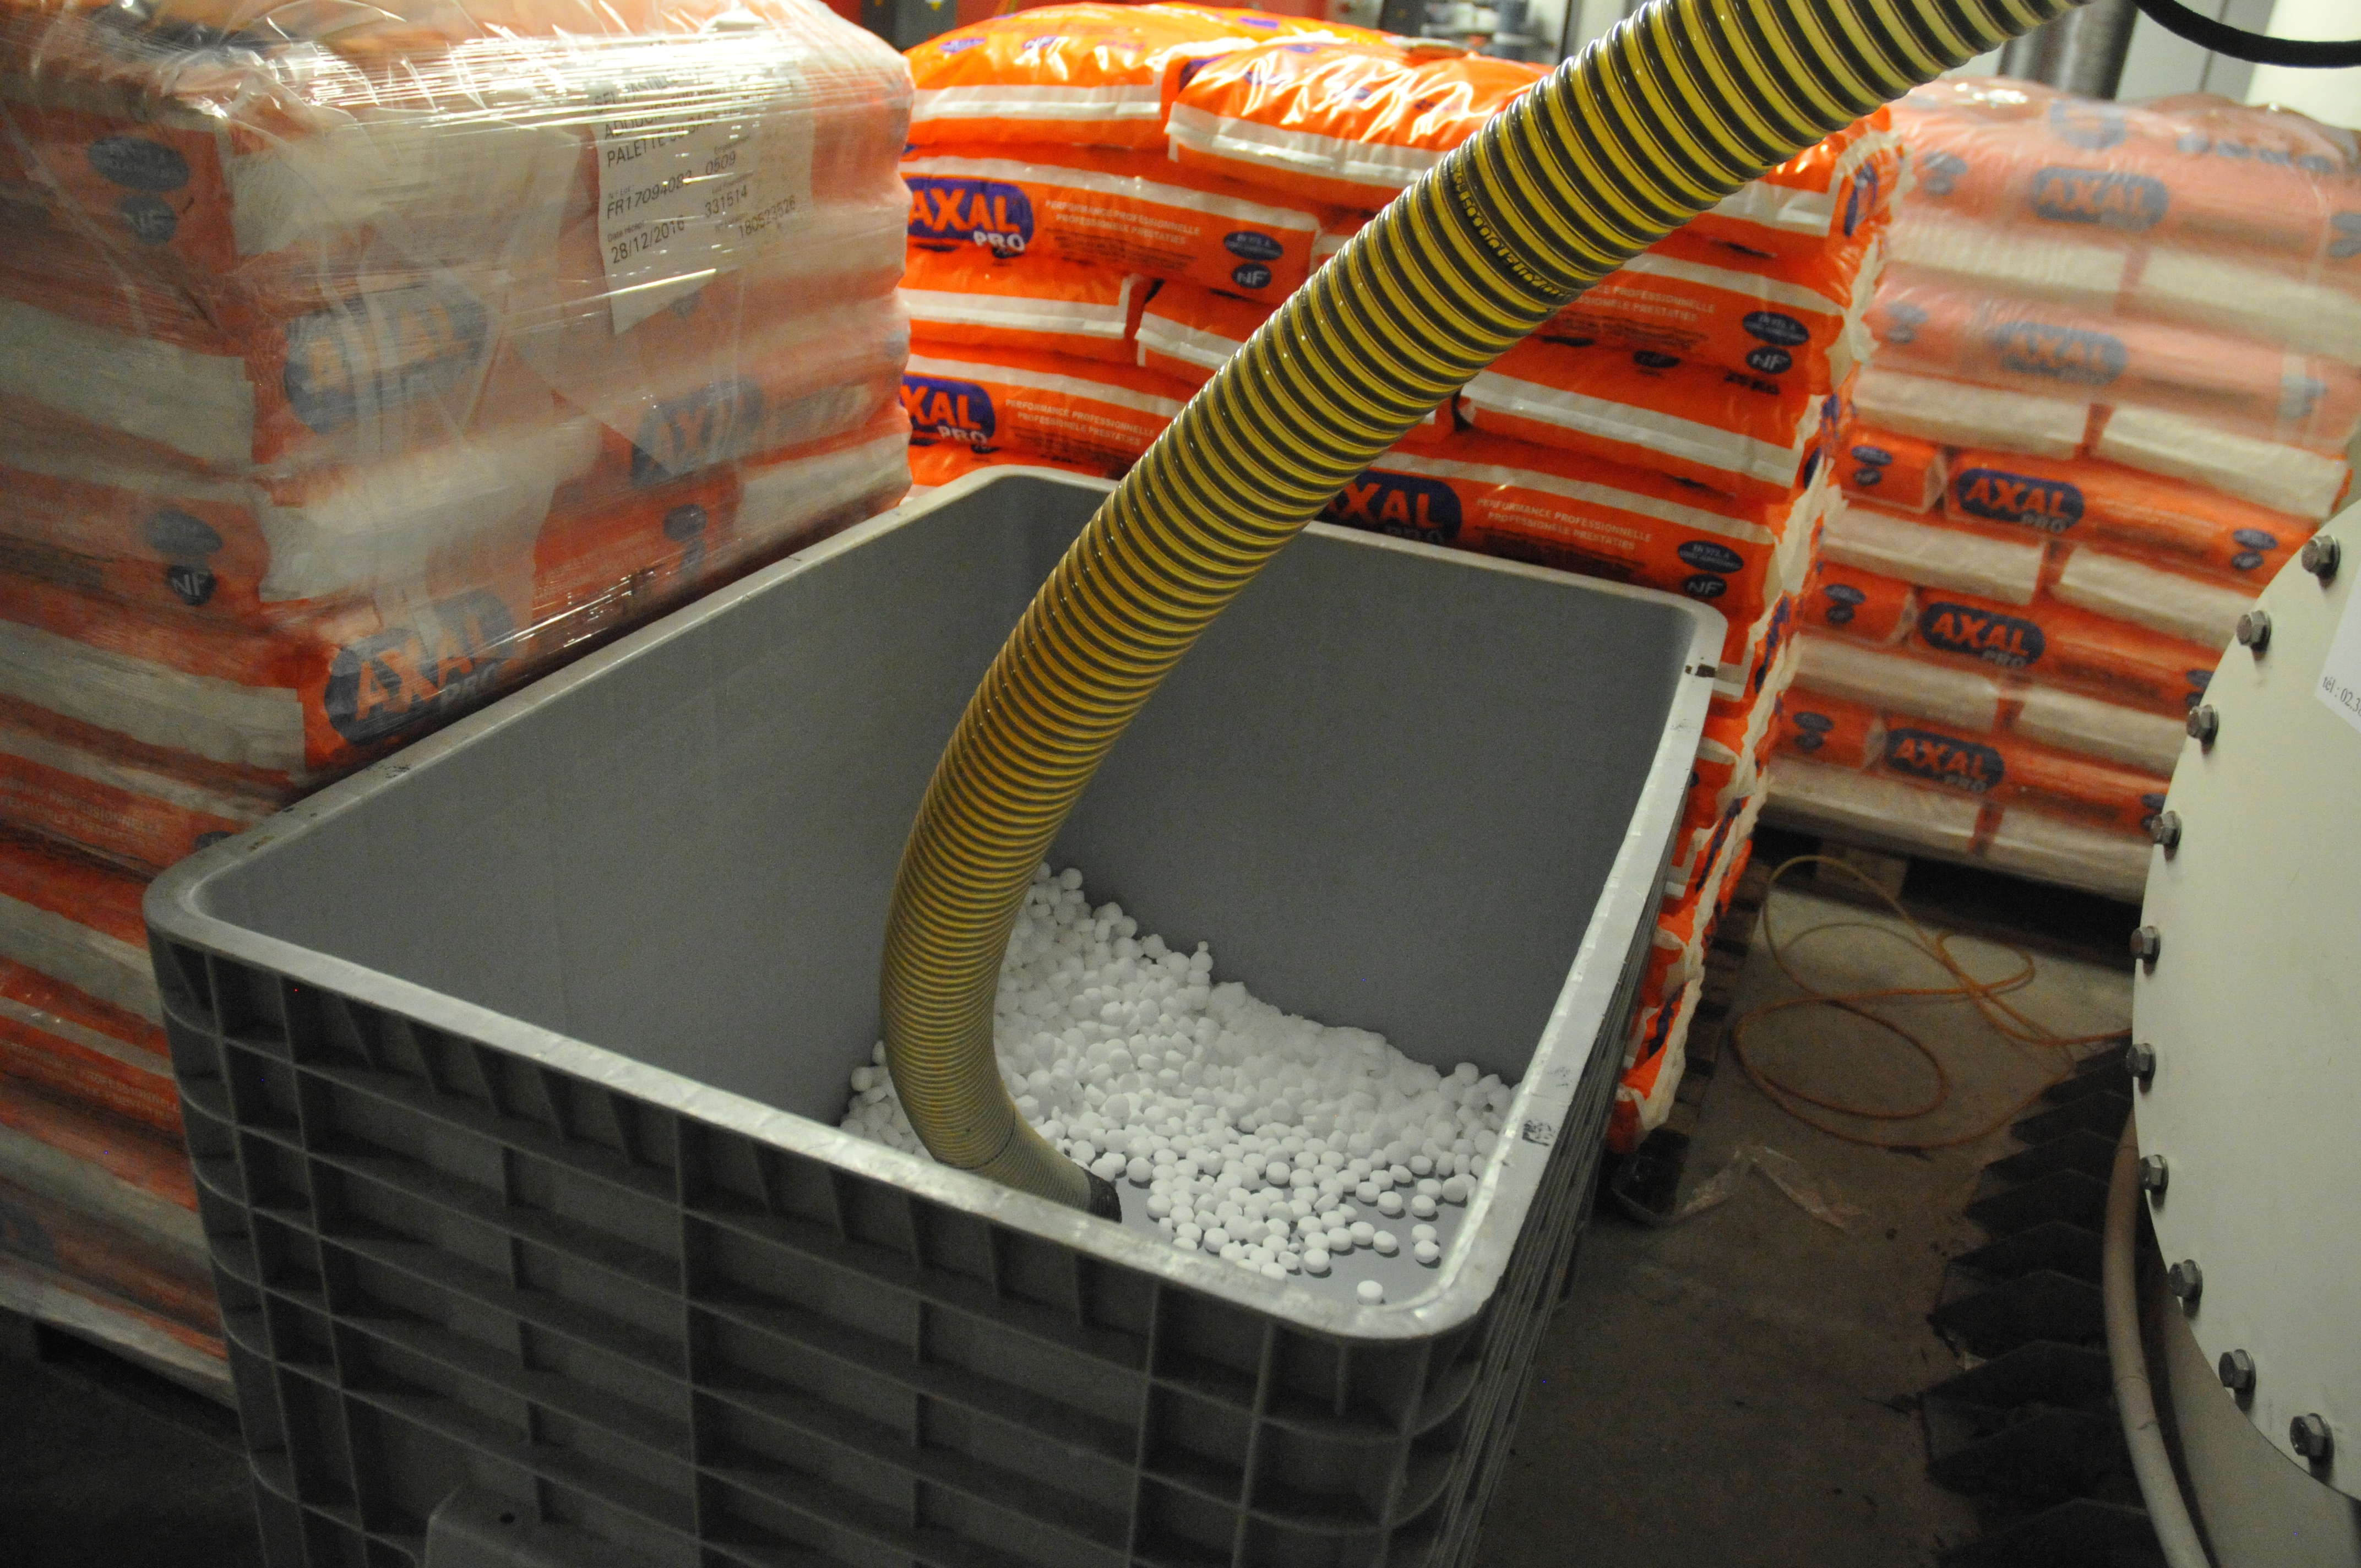
To fill a whole tank with salt water with approximately oceanic salinity, we need all the salt shown in the picture above!
We are pretty lucky that Thomas and Samuel take care of all the saltwater-making for us. That would be a huge task if we had to do it ourselves, and we are already now not getting bored 😉
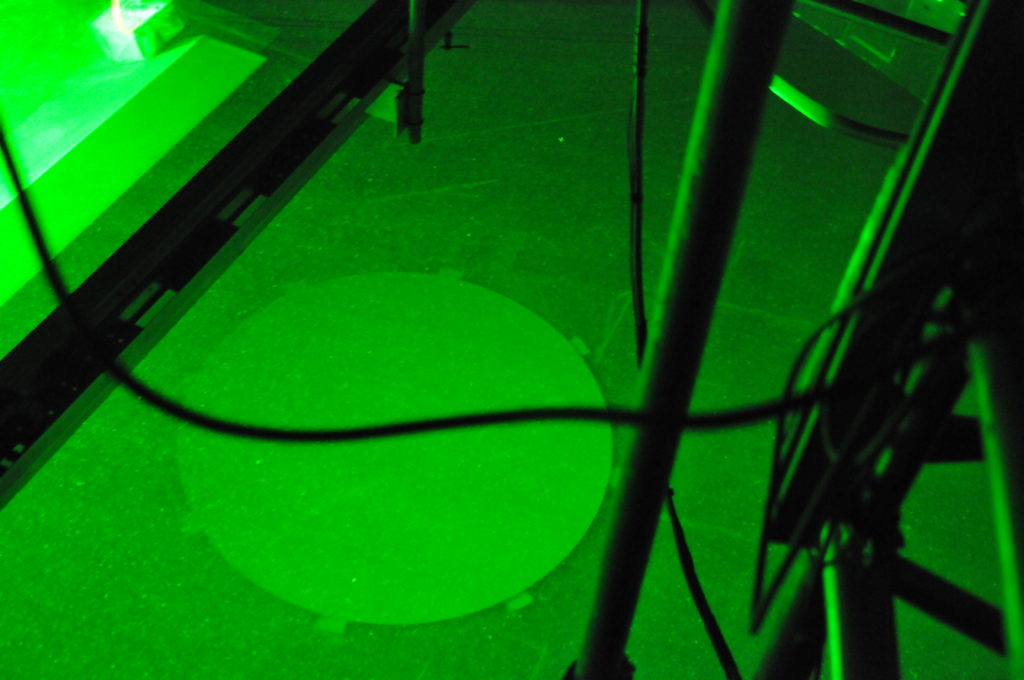
And, btw, if you are wondering about how we are getting rid of the dense, salty current that we inject into the fresh ambient water in between experiments: The dense water eventually sinks to the bottom of the tank, slowly filling it up underneath the fresher water. You might have noticed those UFO-shaped flat plates on the bottom of the tank that you see in the picture below. They cover the outlets through which the tank can be drained, such that now water from the very bottom of the tank can be pumped out without introducing a vertical component (which would suck water from higher levels, too).
Quite a lot of effort going on not only to prepare the water, but also to get rid of it again! 🙂
Interesting blog. Water rotating process is superb.
You will also find lots of science activities that can be done using simple materials found in your home.
https://play.google.com/store/apps/details?id=com.gameimake.sciencetricksexperimentsinsciencecollege